Transform Your Raspberry Pi into a Print Server for Laser Printers: A Step-by-Step Guide

Recently, some Macs in my office turned unable to select double-sided/single-sided printing or set the paper size to other than US letter on a Canon's laser printer. Other Macs were OK, although they shared the OS version, software applications, and so on. Printing from Windows was not a problem, either. After troubleshooting, I could not resolve the issue by re-installing the driver and the OS to these Macs or updating the printer firmware.
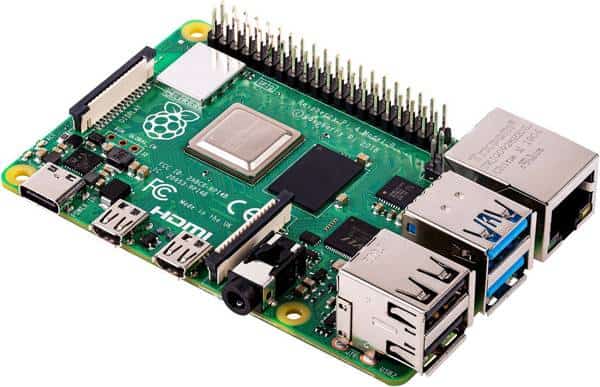
So, I decided to get around the problem by using Raspberry Pi as a print server, which ended up successfully. I share the steps below.
Requirements
- The 64-bit version of Raspberry Pi OS, i.e., Debian 11 for ARM, must be installed as Canon's printer drivers are incompatible with the 32-bit version of that OS.
- A desktop environment of Raspberry Pi OS is necessary when you configure the printer. That means you also need a computer mouse and a monitor.
Steps
Install Raspberry Pi OS
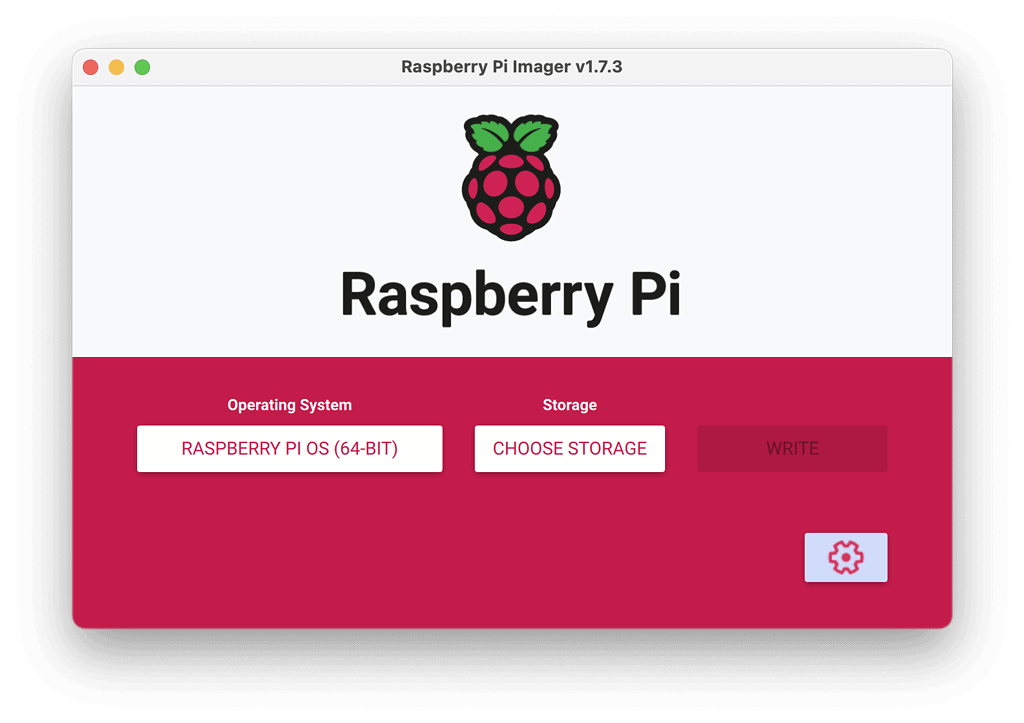
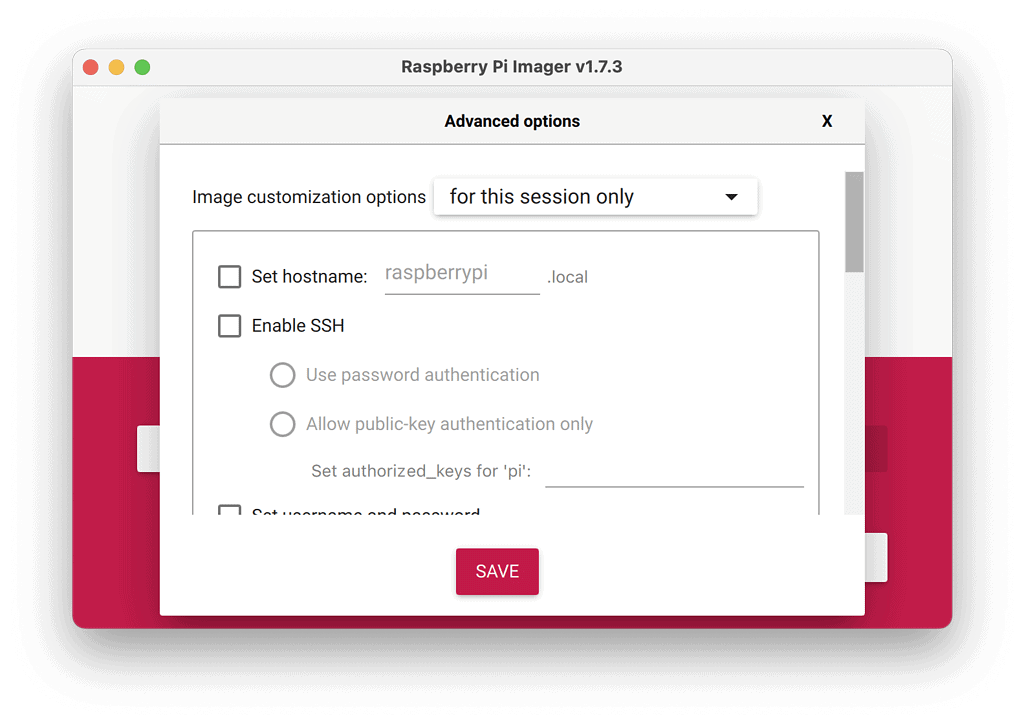
Download Raspberry Pi Imager from here to install the OS on a micro SD card. Don't forget to choose the 64-bit version. You can set a password, activate SSH, and configure Wi-Fi in this step.


Configure Raspberry Pi
Start up your Raspberry Pi, log in, and type sudo raspi-config in your terminal for various configurations.
Update Raspberry Pi
The following commands will update the OS:
sudo apt update
sudo apt full-upgrade -y
sudo apt autoremove -y
sudo apt clean
sudo reboot
Install Samba
- Install Samba using the command s
udo apt-get install samba - Configure Samba to share the printer by opening the configuration file with
sudo nano /etc/samba/smb.confand addig the following line at the end of the file:
[printers]
comment = All Printers
path = /var/spool/samba
browseable = yes
guest ok = yes
writable = no
printable = yes
create mask = 0700
print command = lpr -P %p -o raw %s -r
use client driver = yes
- Save and exit the file
- Restart the samba service with
sudo service samba restart
Install CUPS
Install CUPS and edit the CUPS configuration file to make it usable from other terminals on the local network
- Install CUPS using the command
sudo apt-get install cups - Backup the original configuration with
sudo cp /etc/cups/cupsd.conf /etc/cups/cupsd.conf.org - Edit the configuration file with
sudo pico /etc/cups/cupsd.conf - Change the "
Listen localhost:631" to "Listen 192.168.1.X:631" where X is your RPi's IP address on your local network. - Change the "
Allow localhost" to "Allow from 192.168.1.0/24" - Save the file
- Restart CUPS service with
sudo service cups restart
Install printer driver
- Download a printer driver from Canon's website and install it on Raspberry Pi
- Add the printer to CUPS by opening a web browser on Raspberry Pi or a computer in your local network and going to http://localhost:631/admin
- Click on "Add Printer" and follow the prompts to connect to the printer and set it up
- Test the printer by printing a test page or by printing from an application
By following these steps, you will have a fully functional print server running on your Raspberry Pi 4, allowing you to print from any device connected to your local network.

